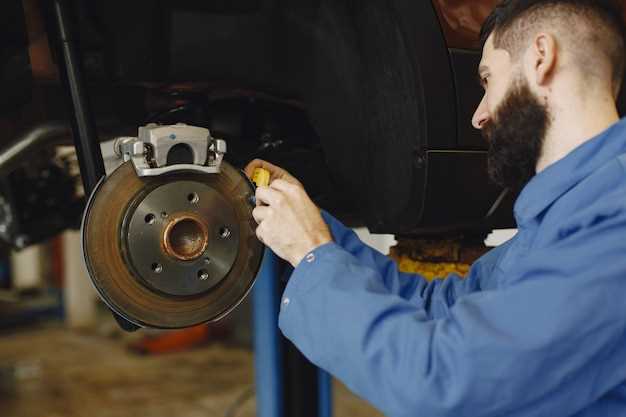
The iconic Porsche Fuchs wheels have long been celebrated for their distinctive design and lightweight construction, making them a favorite among automotive enthusiasts and collectors alike. Over time, however, these wheels may require restoration to maintain their visual appeal and structural integrity. This DIY rebuilding guide offers practical steps and expert tips to help you successfully restore your Fuchs wheels to their former glory.
Embarking on a DIY project can seem daunting, especially when it involves critical components like wheels. But with the right tools and a thorough understanding of the rebuilding process, you can rejuvenate your wheels and enhance the performance of your Porsche. This guide will cover essential topics such as disassembly, cleaning, refinishing, and reassembly, ensuring that your project is both enjoyable and rewarding.
Whether you’re a seasoned mechanic or a passionate hobbyist, the satisfaction of completing a DIY restoration can be unmatched. With attention to detail and a commitment to quality, you can achieve a finish that not only meets industry standards but also reflects your personal style. Let’s delve into the steps necessary for breathing new life into your classic Fuchs wheels.
Assessing and Preparing Your Fuchs Wheels for Restoration

Before diving into the DIY restoration process of your Fuchs wheels, it’s crucial to conduct a thorough assessment. Start by inspecting the wheels for any signs of damage, such as bends, cracks, or severe corrosion. Lightweight aluminum alloy used in Fuchs wheels can be prone to these issues, especially if the wheels have seen significant mileage or adverse weather conditions. Examine the surface carefully, using a bright light to spot imperfections that might not be immediately visible.
Next, ensure that the mounting surfaces are clean and free from debris. Any contaminants can cause improper seating when the wheel is reinstalled, leading to potential safety hazards. Look for any pitting or uneven areas; these could affect the wheel’s balance and performance. If damage is present, you may need to weigh the cost of professional repair versus a complete DIY restoration, depending on the severity of the issues.
Once assessment is completed, the preparation phase begins. Clean the wheels using a non-corrosive cleaner to remove dirt and brake dust. Avoid harsh chemicals that could damage the finish. A soft brush or cloth can be used to ensure all crevices are reached. After cleaning, dry the wheels thoroughly to prevent moisture accumulation during the restoration process.
If paint or finish is deteriorated, sanding may be necessary to prepare the surface for new paint or clear coat. Use fine-grit sandpaper to gently remove old finishes, being cautious not to damage the underlying metal. Following sanding, it’s advisable to wipe down the wheels with isopropyl alcohol to eliminate any dust or residue created during this step.
Assess the need for any additional hardware changes, such as new valve stems or lug nuts, to ensure everything is compatible and functional once the restoration is complete. Accurately documenting the condition and needs of your Fuchs wheels will help guide you through the restoration process more efficiently. This meticulous assessment and preparation will substantially enhance the quality and longevity of your DIY project.
Tools and Materials Needed for Fuchs Wheel Rebuilding
Rebuilding Fuchs wheels requires a specific set of tools and materials to ensure a successful restoration. First and foremost, you will need a reliable set of hand tools, including a socket set, wrenches, and screwdrivers. These will help you disassemble the wheels and access the inner components.
A torque wrench is essential for reassembly, as it ensures bolts are tightened to the manufacturer’s specifications, preventing future issues. Additionally, a rubber mallet can assist in carefully tapping parts without damaging the aluminum finish of the wheels.
For cleaning the wheels, a soft brush and a gentle detergent are recommended to remove dirt and grime without scratching the surface. Chemical paint strippers or media blasting may be necessary to remove old paint or clear coat, so ensure you have protective gear, including gloves and goggles.
When it comes to materials, you’ll need a quality wheel paint or powder coating for a fresh finish. Ensure to choose high-heat resistant paint, as brake components can generate significant heat. You will also require new seals, bolts, and possibly new valve stems for proper functionality.
Lastly, a good workspace with proper ventilation is critical for safety during the rebuilding process. Having a sturdy workbench and adequate lighting will help improve focus and efficiency while working on your Fuchs wheels.
Step-by-Step Process to Restore Fuchs Wheels Like a Pro

Restoring Fuchs wheels involves a meticulous process that ensures these iconic aluminum wheels regain their original finish and shine. This DIY guide walks you through the essential steps to restore Fuchs wheels effectively.
Step 1: Gather Your Tools and Materials
Begin by assembling the necessary tools: a bead blaster or sandblaster, a wire brush, cleaner, primer, high-quality wheel paint, clear coat, and protective gear. Ensure you have a workspace that is well-ventilated and free of debris.
Step 2: Remove the Tires
Carefully detach the tires from the Fuchs wheels. This can be done using a tire changing machine or by visiting a local tire shop. Ensure no damage occurs during this process to the wheel rims.
Step 3: Clean the Wheels
Thoroughly clean the wheels with a degreaser to remove dirt and grease. Use a wire brush for stubborn debris in hard-to-reach areas. Rinse and let them dry completely before proceeding.
Step 4: Strip the Old Finish
If the wheels have any existing paint or clear coat, use a bead blaster or sandblaster to strip them down to the bare aluminum. For more delicate areas, manually sand with fine-grit sandpaper. Always wear protective gear during this step.
Step 5: Inspect the Wheels
Examine the wheels for cracks, bends, or any imperfections. Address these issues by using appropriate metal filler or taking them to a professional for realignment and repair, if necessary.
Step 6: Prime the Wheels
Apply a quality primer specifically designed for aluminum. This layer not only promotes adhesion for the paint but also protects against corrosion. Allow the primer to cure as per the manufacturer’s instructions.
Step 7: Paint the Wheels
Using high-quality wheel paint, apply an even coat to the wheels. It’s best to use a spray can for a smooth application. Allow the first coat to dry before applying additional coats, usually two to three coats are recommended for optimal coverage.
Step 8: Apply Clear Coat
Once the paint has completely dried, apply a clear coat to protect the finish from scratches and environmental damage. This step enhances the wheel’s shine and longevity.
Step 9: Reinstall the Tires
Once everything is dry and cured, carefully reinstall the tires onto the restored Fuchs wheels. Make sure to balance them correctly to ensure a smooth ride.
Step 10: Final Inspection
After everything is assembled, perform a final inspection of your work. Check for any imperfections in the paint, ensure all nuts and bolts are tightened, and admire your freshly restored Fuchs wheels.
Following this DIY process will not only refresh your Fuchs wheels but also enhance the overall appearance of your vehicle, showcasing a classic look with a professional finish.
 Skip to content


