 Skip to content


Classic Porsche vehicles are revered not only for their engineering excellence and performance but also for their timeless aesthetic appeal. However, one of the biggest challenges that enthusiasts and restorers face is rust on the bodywork. This pervasive issue can compromise the integrity and beauty of these iconic cars, making effective rust repair techniques crucial for maintaining their value and performance.
When addressing rust on classic Porsche body panels, it is essential to understand the nature of rust itself. Rust forms when iron and oxygen react in the presence of moisture, and this chemical reaction can lead to significant deterioration of the metal over time. Therefore, it’s vital to recognize early signs of rust and employ proper techniques to prevent further damage and restore the bodywork to its original condition.
Various methods exist for repairing rust in classic Porsche body panels, ranging from simple fixes to more extensive restoration processes. Techniques such as spot welding, panel replacement, and the use of rust inhibitors can be employed to ensure that the bodywork remains not only visually appealing but also structurally sound. In this article, we will explore some of the most effective rust repair techniques tailored specifically for the unique requirements of classic Porsche models.
Identifying Common Rust Areas in Classic Porsche Models
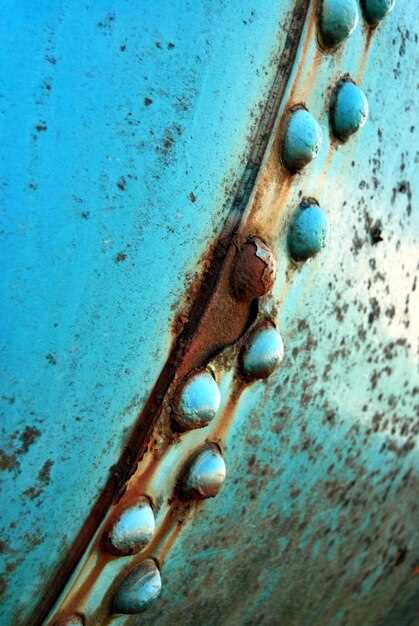
Classic Porsche models, known for their iconic design and performance, are also prone to rust, which can significantly impact their bodywork and overall integrity. Identifying common rust areas early is crucial for effective repair and preservation. One of the primary spots to examine is the wheel arches. These areas often accumulate debris and moisture, leading to corrosion over time. Carefully inspect the inner and outer surfaces for any signs of flaking or pitting.
Another critical location is the lower sections of the doors and the body panels. Water can easily accumulate in these areas, particularly if the drainage holes are blocked. Look for bubbling paint or soft metal, which can indicate rust development beneath the surface. The rear quarter panels are also susceptible, especially on models with a design that traps moisture. This part of the bodywork often requires close inspection for early signs of rust.
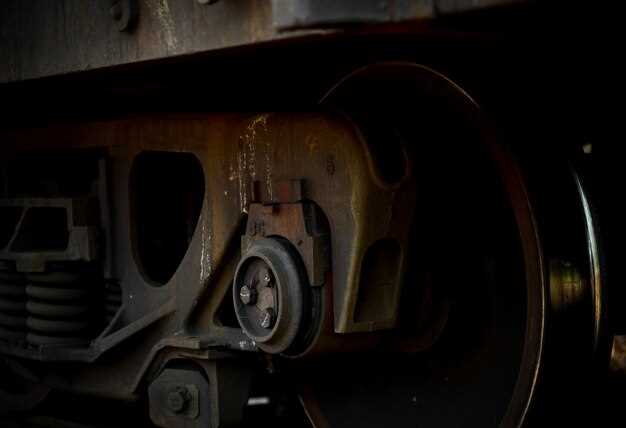
Additionally, the undercarriage deserves special attention. Exposure to road salt and grime makes this area vulnerable. Check the floor pans, especially around the seat mounts and beneath the battery tray, where rust can go unnoticed and escalate if not dealt with promptly. Lastly, the front trunk area and the area around the headlights are common rust hotspots. Water intrusion from damaged seals can lead to hidden corrosion, necessitating thorough examination.
Being proactive about inspecting these areas can save time and resources, allowing for more effective repair measures and helping to maintain the value and aesthetics of classic Porsche vehicles.
Selecting the Right Tools and Materials for Rust Repair
When addressing rust on classic Porsche body panels, choosing appropriate tools and materials is critical for achieving a durable and aesthetically pleasing result. The following guidelines will help ensure you have everything necessary for effective rust repair.
Tools: Start with a comprehensive set of tools tailored for bodywork and rust removal. Angle grinders equipped with rust removal discs are invaluable for stripping away oxidized metal. Complement these with sanders for smoothing surfaces after the initial grinding. Wrenches and screwdrivers are essential for dismantling components to access rust-prone areas properly.
Furthermore, a spot welder is crucial for securely attaching new metal sections during repairs. A metal cutting saw can provide precision when fabricating replacement patches from sheet metal. Finally, safety gear, including gloves and masks, is vital to protect yourself from dust and debris generated during the repair process.
Materials: Selecting the right materials is just as important as having the correct tools. Begin with high-quality metal sheets made from galvannealed steel or stainless steel, which offer excellent rust resistance. When it comes to surface preparation, a reliable rust converter can effectively neutralize rust, preventing further corrosion before applying new materials.
For sealing and preventing moisture penetration, epoxy primers and automotive paints are essential. Choose products specifically designed for automotive applications to ensure adhesion and durability. Additionally, consider sealants that can protect seams and joints from moisture, an area often overlooked in bodywork repairs.
Using quality materials and tools not only enhances the lifespan of your repairs but also maintains the overall integrity and value of your classic Porsche. A well-executed rust repair will ensure your vehicle remains in peak condition for years to come.
Step-by-Step Guide to Welding and Sealing Rusted Body Panels
When dealing with rust in classic Porsche bodywork, proper techniques for welding and sealing rusted panels are essential. Following this guide will help ensure a durable repair.
Step 1: Assessing the Damage
Begin by thoroughly inspecting the body panels. Identify the extent of the rust damage and mark areas needing repair. Use a grinder or sandpaper to expose the metal beneath the rust and determine the authenticity of the structural integrity.
Step 2: Preparing the Work Area
Set up a clean and well-ventilated workspace. Remove any paint or debris from the areas surrounding the rusted sections. This ensures a solid bond during welding. Wear appropriate safety gear, including gloves and a mask.
Step 3: Cutting Out the Rust
Utilize cutting tools such as a plasma cutter or angle grinder to remove the rusted section of the body panel. Cut back to clean metal to prevent future rust from spreading. Ensure your cuts are straight and clean to facilitate proper welding.
Step 4: Fabricating New Metal Pieces
Once the old panel is removed, create a replacement piece from sheet metal. Accurate measurements are crucial. Use a metal brake for bending and shaping to match the original contours of the bodywork precisely.
Step 5: Tack Welding
Position the new metal piece into place and start with tack welding at strategic points. This will hold the piece in position while preventing warping. Ensure the welds penetrate both pieces of metal for maximum strength.
Step 6: Complete Welding
Once the tacks are secure, proceed with full welding along the seams. Utilize the appropriate welding technique, whether MIG or TIG, for the thin gauge metal typical of Porsche bodywork. Overlap the welds slightly to create a robust connection.
Step 7: Grinding and Smoothing
After welding, grind down the welds to create a smooth transition between the new and old metal. This step is crucial for effective sealing and painting. Perform this carefully to avoid thinning the metal.
Step 8: Rust Inhibitor Application
Apply a rust inhibitor to the newly welded area to protect against future corrosion. This should be done before any sealing or painting to ensure maximum protection.
Step 9: Sealing the Repair
Once the inhibitor is dry, use seam sealer around the edges of the repair to prevent moisture ingress. This step is vital for maintaining the integrity of your body panels over time.
Step 10: Final Preparation and Painting
Sand the area with fine-grit sandpaper to prepare for painting. Apply primer and matching paint to blend the repair with the surrounding bodywork. This not only enhances appearance but also adds an extra layer of protection against rust.
By following these steps meticulously, you can effectively repair rusted body panels on classic Porsches, ensuring your vehicle remains not only a beauty on the road but also structurally sound for years to come.


